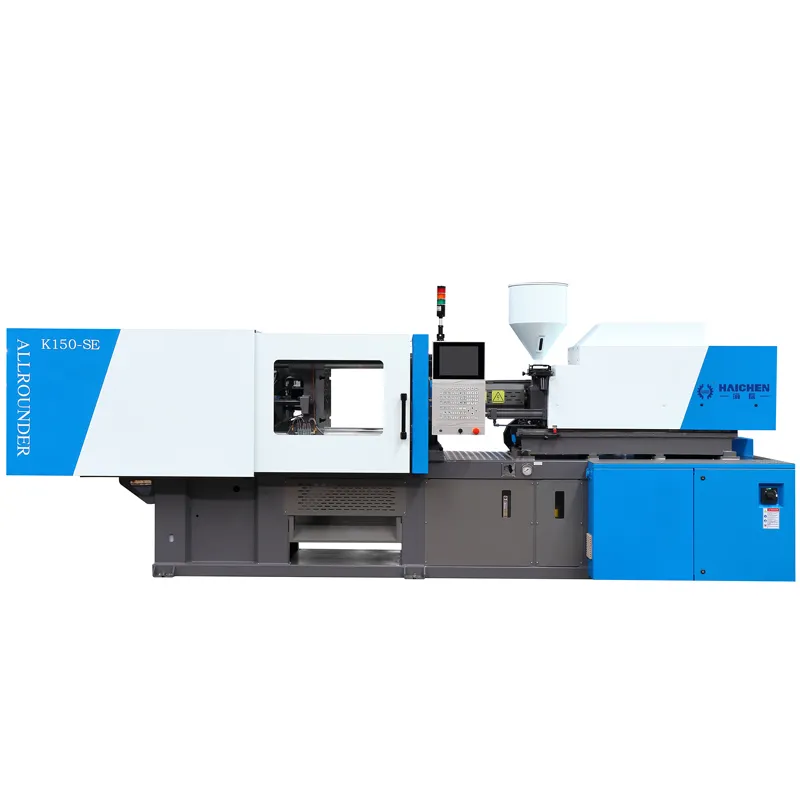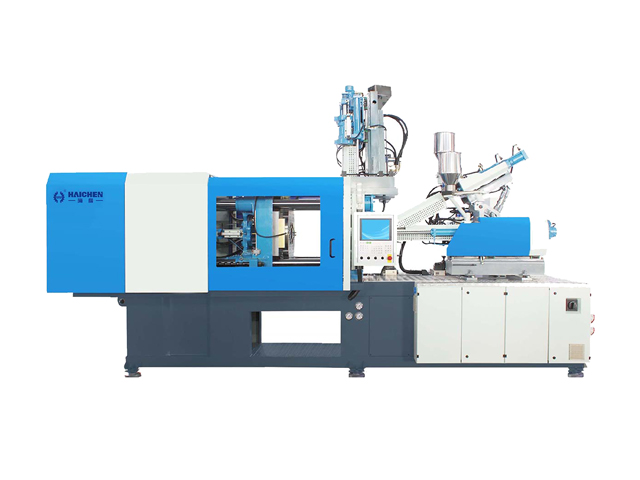
The PET jar preform injection molding process is the foundation of high-quality plastic container production. A PET jar preform is an intermediate, test-tube-shaped plastic part that already features the finished threaded neck of the jar. It is created through precision injection molding, where raw PET resin is melted and shaped into a thick-walled preform ready for the subsequent blow molding stage. This guide walks you through each step of the PET jar preform injection molding process to help you achieve consistent, defect-free results.
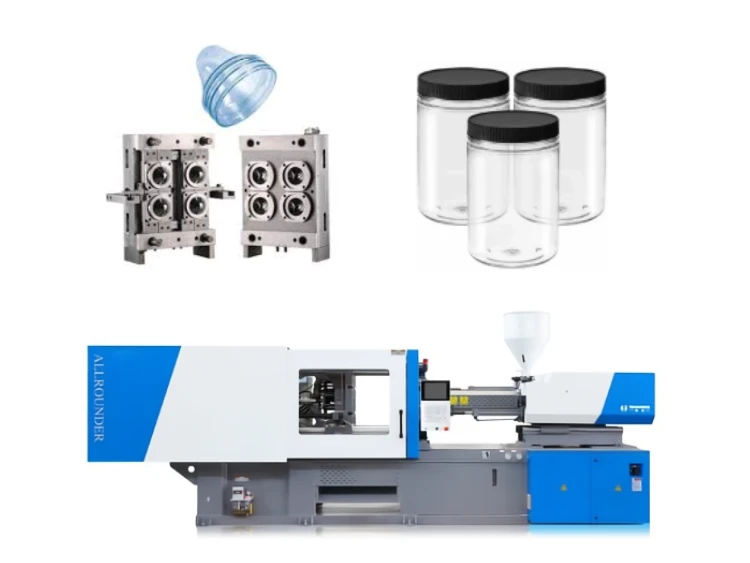
PET jar preforms serve as the semi-finished starting point for producing a wide range of containers, from beverage bottles to 5-gallon water jars and industrial packaging. The two-step manufacturing method—first injection molding the preform, then stretch blow molding it into the final shape—has become the industry standard for high-volume PET container production. Understanding the PET jar preform injection molding process in detail is essential for the jar preform injection molding machine manufacturer seeking to optimize quality, efficiency, and cost.
Step 1 – Dry PET Jar Preform Material
Why Drying is Critical
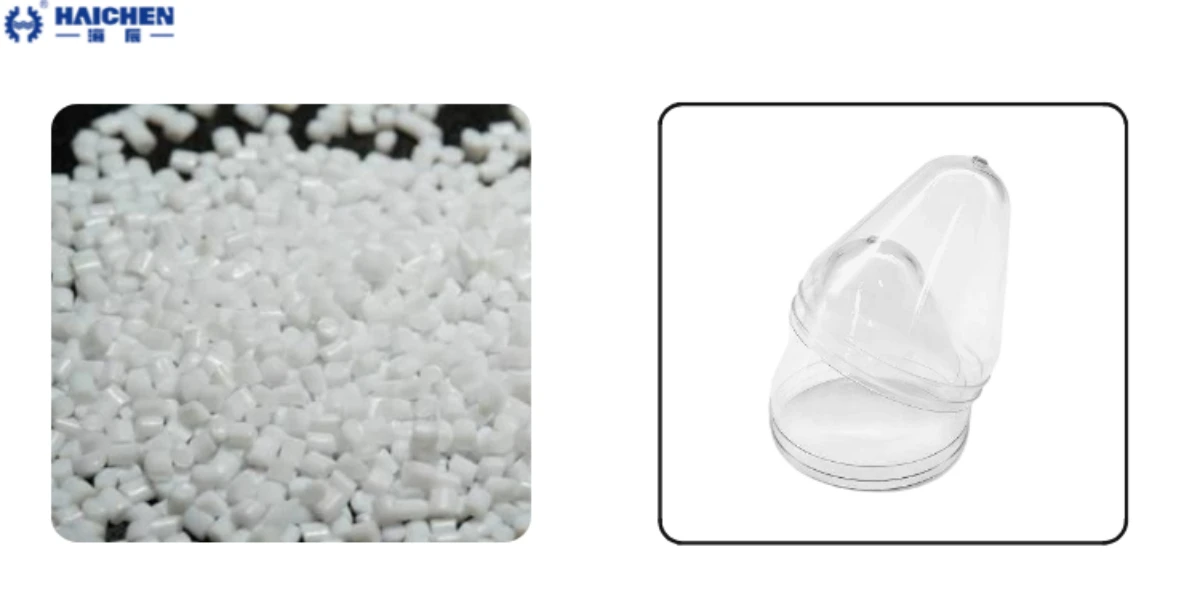
PET resin is hygroscopic, meaning it readily absorbs moisture from the air. If not properly dried, the moisture will hydrolyze the polymer chains during melting, reducing the molecular weight and leading to weak, brittle preforms with poor clarity. Therefore, drying is the first and arguably most important quality-control step.
Material Types for PET Jar Preforms
PET for jars comes in bottle-grade quality, with an intrinsic viscosity (IV) between 0.72 and 0.84 dl/g. Higher IV values yield stronger and more impact-resistant jars. Some PET jar preform injection molding machine manufacturers blend amorphous PET (A-PET) with crystallized PET (C-PET) to balance cost and processability. A-PET is cheaper material and manufacturing costs of PET jar but harder to process, while adding C-PET raises the melt viscosity and improves moldability – especially beneficial for wide-mouth jars that require even wall thickness distribution.
Pro Tip: For heavy-duty jars (e.g., 5-gallon water containers), we recommend using PET with an IV of 0.80–0.84 dl/g to ensure superior mechanical performance.
Drying Temperature and Time
A dehumidifying dryer removes moisture from PET pellets using hot air at 150–170°C for 4 to 6 hours. Some advanced processes employ a two-stage drying method: the first stage runs 6–7 hours at 140–150°C, followed by a second stage of 1–3 hours at 155–165°C. After drying, the moisture level must drop below 0.004% – any higher and you risk hydrolysis. Properly dried pellets are then ready for the melting stage.
Common Mistake: Shortening drying time to save energy often leads to splay marks or silver streaks on the preform surface, which are visible defects that cannot be removed later.
Step 2 –Design PET Jar preform Mold
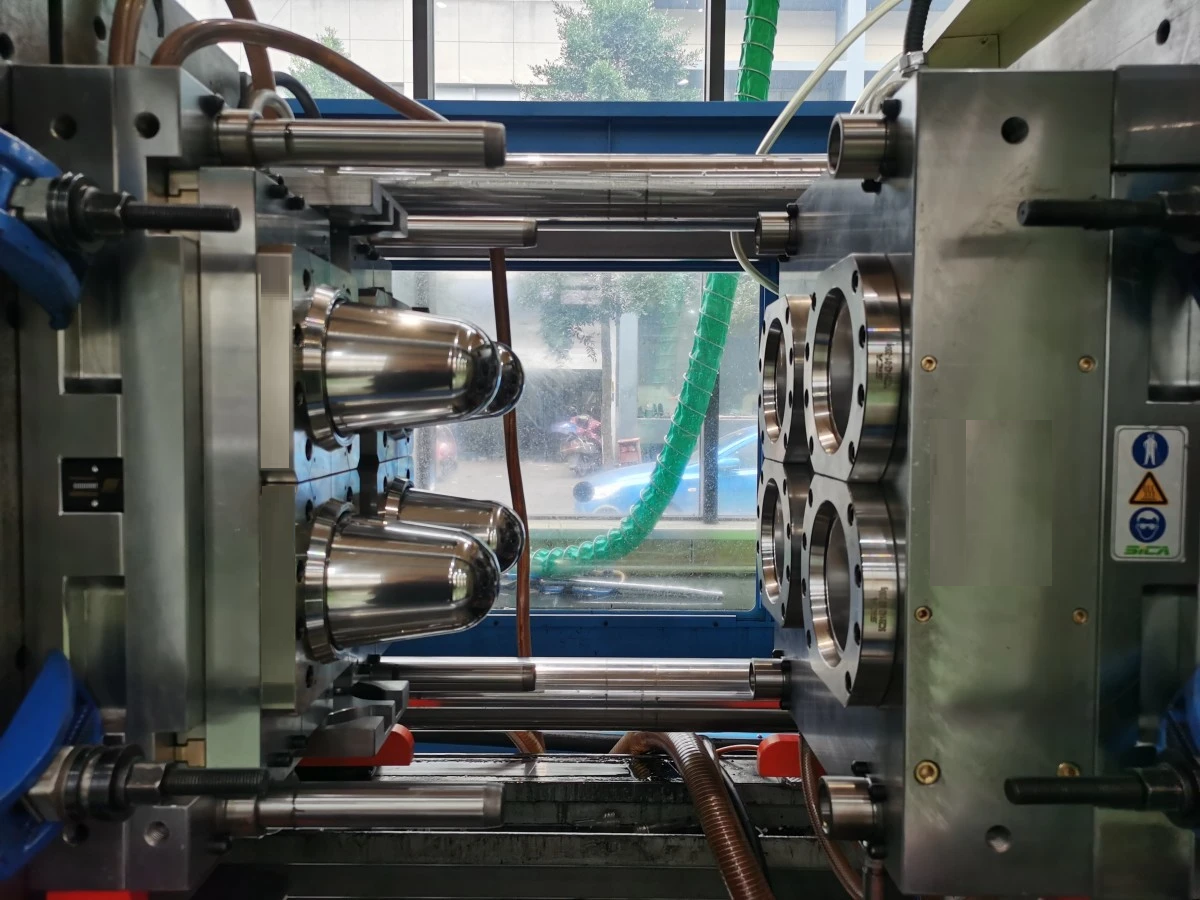
The mold design directly determines preform quality, cycle time, and tooling lifespan. Two key aspects require special attention: the multi-cavity structure and the cooling channel layout.
Multi-Cavity Mold Structure
PET jar preform molds typically use multiple cavities – the more cavities, the higher the output per cycle. However, each cavity must be identical to ensure product consistency. High-grade steel such as S136 is commonly used for its excellent wear and corrosion resistance. The cavity surface requires a mirror finish to facilitate clean preform release and to produce a smooth, glossy surface on the final jar.
Industry Insight: For high-volume production, 48‑cavity or even 72‑cavity molds are common. But remember, more cavities demand higher clamping force and more precise temperature control.
Cooling Channel Design
Cooling is one of the most critical factors for preform quality and cycle efficiency. The mold incorporates water channels around each cavity, circulating coolant at 7–15°C to extract heat evenly from the melted PET. Uneven cooling leads to warpage, haze, or dimensional instability. The channels must be placed as close to the cavity surface as possible for efficient heat transfer. Optimized cooling design can reduce cycle time by 15‑20%, directly boosting productivity.
Advanced Approach: Some modern molds use conformal cooling channels (3D-printed) to follow the contour of the preform, achieving even faster and more uniform cooling.
Step 3 – Injection Molding of PET Jar preform
This step comprises four sub-stages: melting, injection, cooling, and ejection. Each must be precisely controlled to avoid defects.
Melting
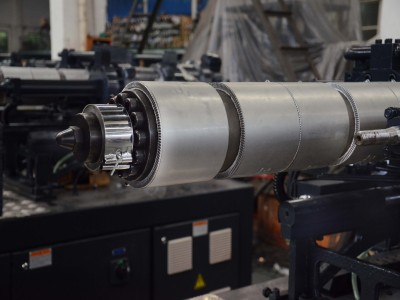
Standard injection molding machines cannot process PET well because PET has a narrow melting window – too hot and it degrades, too cool and it doesn’t flow properly. The machine must feature multiple temperature zones on the barrel and a barrier-type screw that ensures consistent melting and prevents unmelted particles.
At Haichen Machinery, we build the HCK series PET jar injection molding machine with PET-optimized screws and barrels. For example, the HCK280-PET model (specifications below) is specifically designed to handle high-viscosity PET with minimal shear heat build-up.
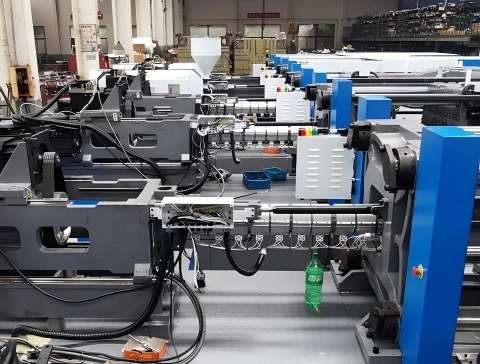
Haichen Machinery builds HCK series machines with PET-optimized screws and barrels for this purpose.
| DESCRIPTION | UNIT | HCK280-PET |
| INTERNATIONAL SIZE RATING | 1400 | |
| Screw diameter | mm | 70 |
| Screw L:D ratio | 25 | |
| Shot volume | cm3 | 1155 |
| Shot weight(PET) | g | 1340 |
| OZ | 47.3 | |
| injection pressure | Bar | 1305 |
| injection rate | cm³/s | 448 |
| Plasticizing capacity | g/s | 60 |
| Max.screw speed | r/min | 167 |
| Clamping force | kN | 2800 |
| Space between tie bars | mm | 620×570 |
| Platens size | mm | 880×830 |
| Opening stroke | mm | 560 |
| Min.mold height | mm | 270 |
| Max.mold height | mm | 620 |
| Distance between platens | mm | 1180 |
| Ejector stroke | mm | 150 |
| Ejector force | kN | 100 |
| Number of ejector | 13 | |
| Systerm pressure | Bar | 175 |
| Pump motor | kW | 38 |
| Heating capacity | kW | 16 |
| Oil tank capacity | L | 300 |
| Machine dimension(L×W×H) | m×m×m | 6.5×1.5×2.3 |
| Machine weight | t | 9.5 |
| Hopper capacity | kg | 50 |
For example, the HCK280-PET, with a clamping force of 2800 kN and a shot weight of 1340g, is ideal for producing large preforms used in 5‑gallon water jars or heavy-duty industrial containers.
Injection
The screw moves forward like a plunger after enough melted PET collects at the front. It pushes the melt through the nozzle into the hot runner system. The melt then flows through the hot runner to each cavity. The valve gates open at the right time to let the melt fill each cavity. High pressure keeps the melt flowing until all cavities are full.
Cooling
After filling, the cooling stage begins. The mold’s cooling channels circulate water at 7-15°C. This water removes heat from the melted PET. The preform hardens from the outside inward. Cooling time depends on the preform weight and thickness. A 44g preform needs sufficient cooling time to avoid warping. Cooling is often the longest part of the cycle. However, rushing cooling causes defects. A good balance is important for quality and efficiency.
Ejection
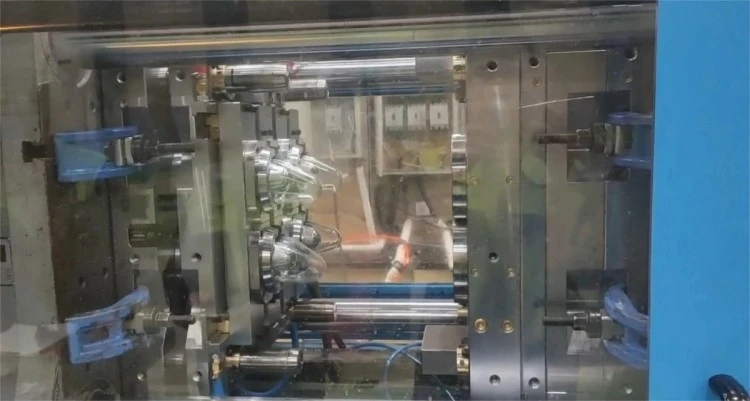
Once the preform hardens, the mold opens. Ejector pins push the preforms off the mold core. Some systems use a take-out robot for removal. The robot moves between the mold halves, grips the preforms, and lifts them out. The preforms then move to a conveyor. Modern systems use chain conveyors that grip the preform neck. This prevents surface scratches and keeps the preforms organized. The preforms are then ready for storage or the blow molding step.
Step 4 – Final Blowing Of PET jar preform
The preforms produced through the PET jar preform injection molding process are later placed into a stretch blow molding machine.
They are reheated, stretched with an internal rod, and blown with compressed air until they expand into the final shape and volume of the jar. The same preform mold can produce jars with different geometries by using various blow molds.
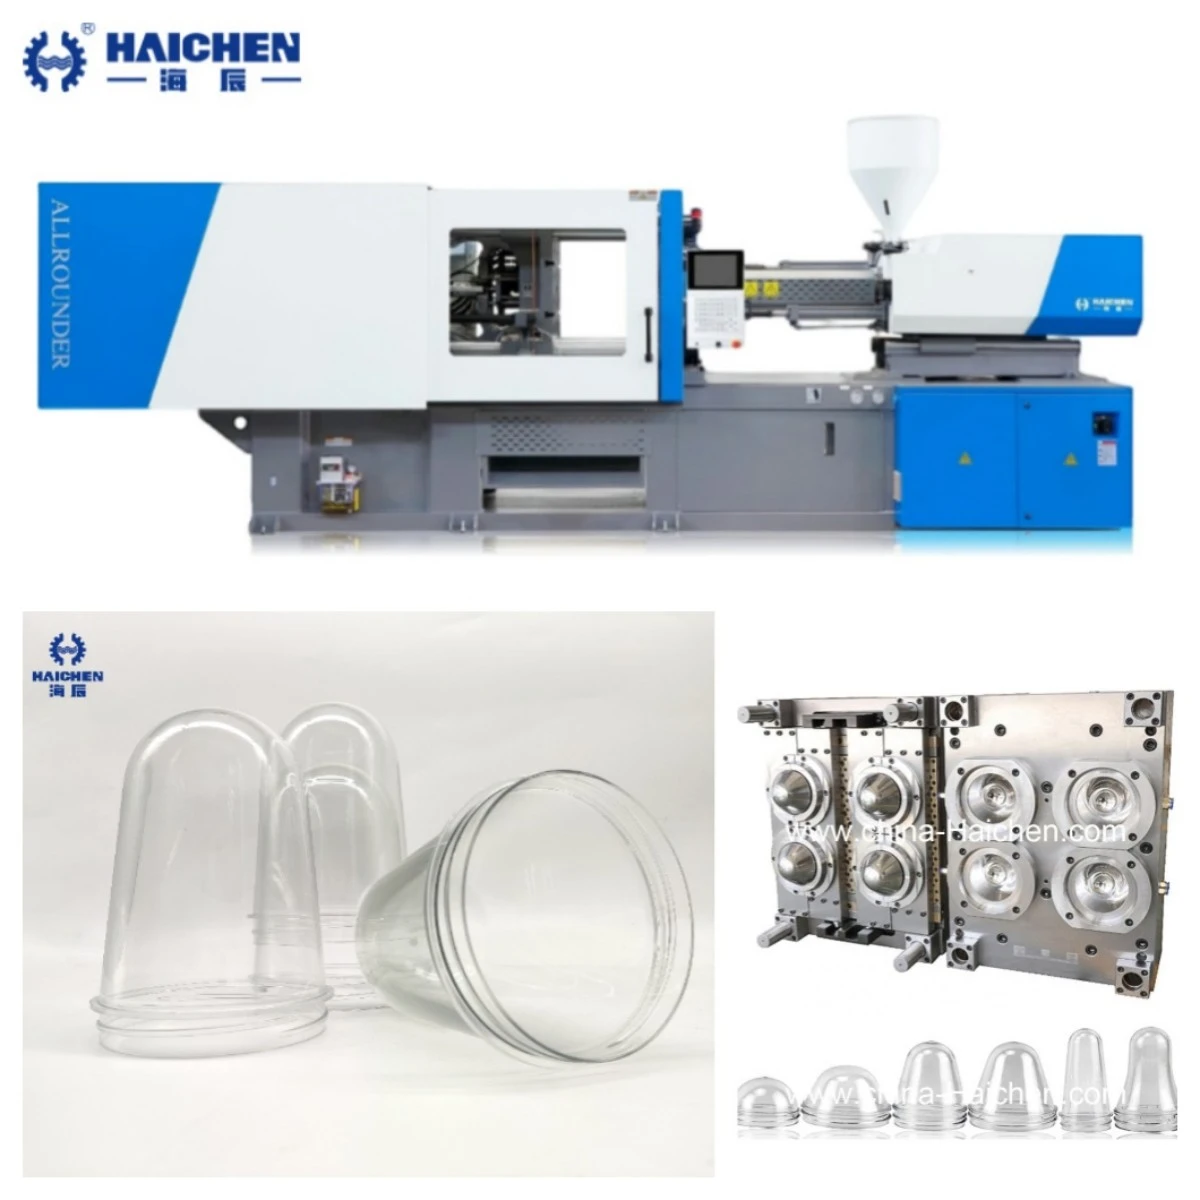
The PET jar preform injection molding process follows four carefully controlled steps: drying the PET resin, designing and building precision molds, injection molding the preforms, and final blow molding. By following these guidelines, you can produce PET jar preforms that meet the highest industry standards.