Understanding the Most Common Defects in Plastic Clothes Clip Injection Molding
Before you can fix defects, you need to understand what causes them. The four most common defects in plastic clothes clip injection molding are short shots, flash, warpage, and ejection problems. Each has distinct causes and requires different solutions.
Short Shots – When the Mold Doesn’t Fill Completely
Short shots occur when the molten plastic fails to fill the entire mold cavity. The part comes out incomplete, missing material in thin sections or at the end of flow paths. In clip production, short shots are most common at the gripping end of the clip or in thin wall sections.
Primary causes:
- Insufficient injection pressure or speed
- Low melt temperature causing premature solidification
- Inadequate venting trapping air in the cavity
- Insufficient shot weight or material shortage
Flash – When Excess Material Leaks from the Mold
Flash appears as thin, excess material along the parting line or around ejector pins. It ruins the appearance of the finished clip and often requires manual trimming. Flash is typically caused by clamping force that is too low for the injection pressure, or by mold damage and wear. A gap as small as 0.02mm can cause visible flash, which is unacceptable in finished consumer products.
Primary causes:
- Insufficient clamping force
- Mold damage or wear at the parting line
- Excessive injection pressure
- Foreign material trapped between mold halves
Warpage – When Parts Bend Out of Shape
Warpage occurs when parts cool unevenly, causing internal stress and dimensional distortion. A warped clothes clip won’t grip properly and is usually rejected. In plastic clothes clip injection molding, warpage is most common in clips with uneven wall thickness or poor cooling channel design.
Primary causes:
- Uneven cooling across the part
- Insufficient holding pressure
- Low mold temperature causing rapid cooling of thin sections
- Poor part design with uneven wall thickness
Ejection Problems – When Parts Stick in the Mold
Ejection problems occur when the part sticks to the core or cavity and won’t release properly. This can damage parts and cause machine stoppages. Ejection problems are often caused by insufficient draft angles, high polish on the mold surface, or improper ejector pin placement.
Primary causes:
- Insufficient draft angles on vertical walls
- Ejector pins placed incorrectly
- Over-polished mold surface causing suction
- Insufficient cooling before ejection
How to Fix Defects Through Better Mold Design for Plastic Clip Production
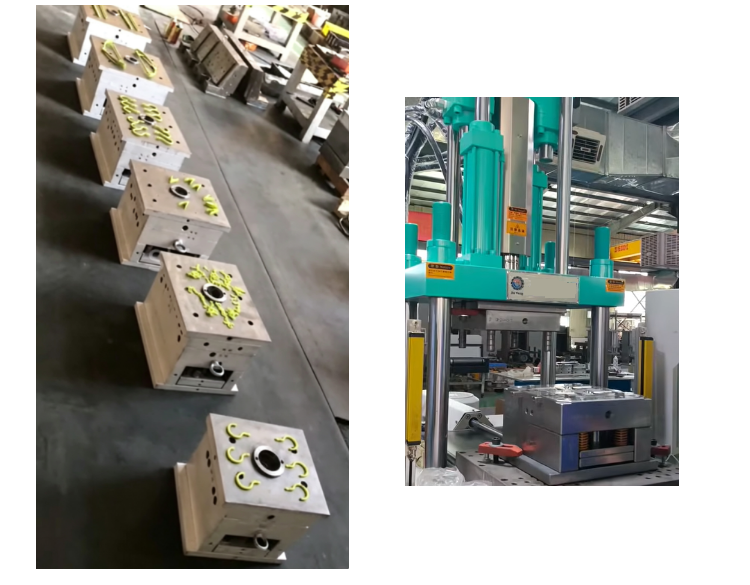
Mold design is the foundation of defect-free plastic clothes clip injection molding. Many defects originate in the mold, and fixing them at the mold stage is more cost-effective than adjusting process parameters later.
Optimize Gate Location and Runner System for Plastic Clips
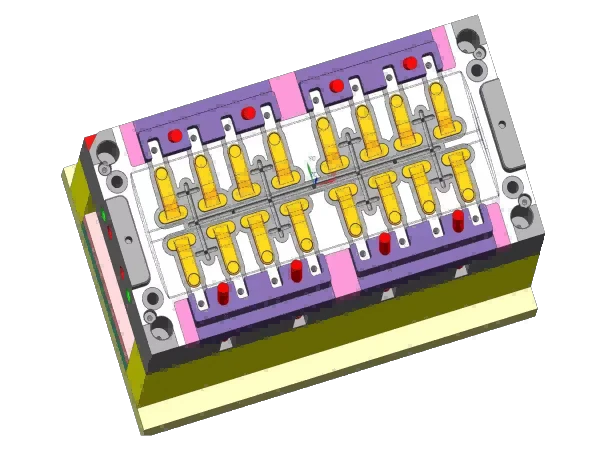
Gate design directly affects how melt flows into the cavity. Improper gate placement often leads to short shots or weld lines in thin sections. The gate should direct melt toward the thickest areas first, then flow to thin sections. For multi-cavity molds (16–32 cavities), balanced runner systems are essential. Unbalanced runners cause some cavities to short-shot while others produce flash. Hot runner systems can also help by reducing pressure drop and improving melt distribution.
Recommended gate types for clips:
- Point gates for small clips with thin sections
- Fan gates for wider clips requiring even distribution
- Submarine gates for automatic degating and clean parts
Add Proper Venting to Prevent Air Traps and Short Shots
Air trapped in the mold cavity is a major cause of short shots and burns. Inadequate venting causes the gas to compress as the melt fills the cavity. This creates back pressure that prevents complete filling. In severe cases, the compressed air ignites, causing burns on the part surface. Add vents along the parting line and at the end of flow paths. For clip molds, vents should be 0.02–0.04mm deep — deep enough to let air escape but shallow enough to prevent flash. The venting land length should be 3–8mm to allow sufficient gas escape without creating visible marks on the part. For high-production molds with 32 cavities, individual vents per cavity are essential for consistent quality.
Improve Cooling Channel Design to Prevent Warpage
Uneven cooling is the primary cause of warpage. Cooling channels should be placed close to the cavity surface and follow the part contour. For multi-cavity molds, ensure each cavity has balanced cooling — otherwise, some clips cool faster and warp while others remain hot and stick. Conformal cooling channels (following the part shape) can reduce cycle time by up to 30% and prevent deformation. In plastic clip molding, conformal cooling is especially effective for clips with complex shapes or varying wall thickness. Baffles and bubblers can also be used to direct coolant flow to areas that are difficult to cool with conventional straight-through channels.
Increase Draft Angles and Optimize Ejection Systems
Ejection problems often stem from insufficient draft angles. All vertical walls should have at least 1–2 degrees of draft. For deeper sections, consider 3–5 degrees to ensure easy release. The ejector pin placement should be balanced to apply even force across the part. Inadequate draft angles cause the part to “shrink fit” onto the core, making it difficult or impossible to eject without damage. Ejector pins should be placed at the thickest sections of the clip, such as the hinge area or the gripping surface. In some cases, ejector sleeves are a better option for thin-walled clips, as they provide more uniform ejection force and reduce the risk of punching through the part.
Haichen’s approach to mold design support: Haichen provides mold design recommendations for plastic clothes clip injection molding based on your part drawings. Our engineers can suggest optimal gate locations, venting depth, and cooling channel layout. With over 20 years of experience, we help customers avoid common mold design mistakes that cause defects.
How Machine Selection Affects Defect Rates in Clip Molding
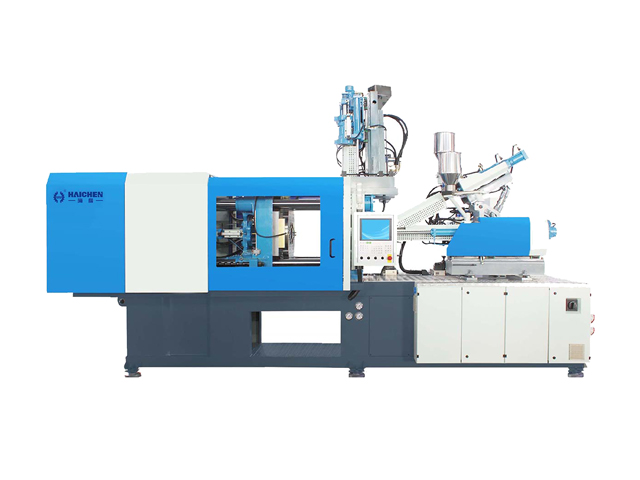
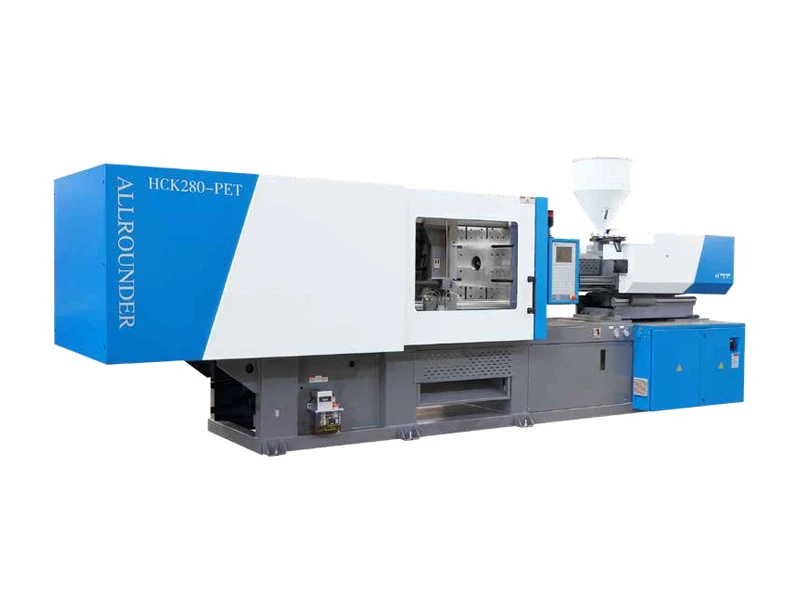
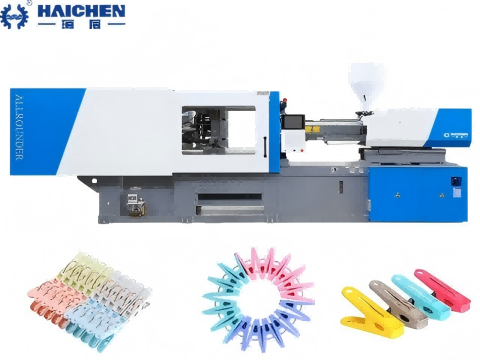
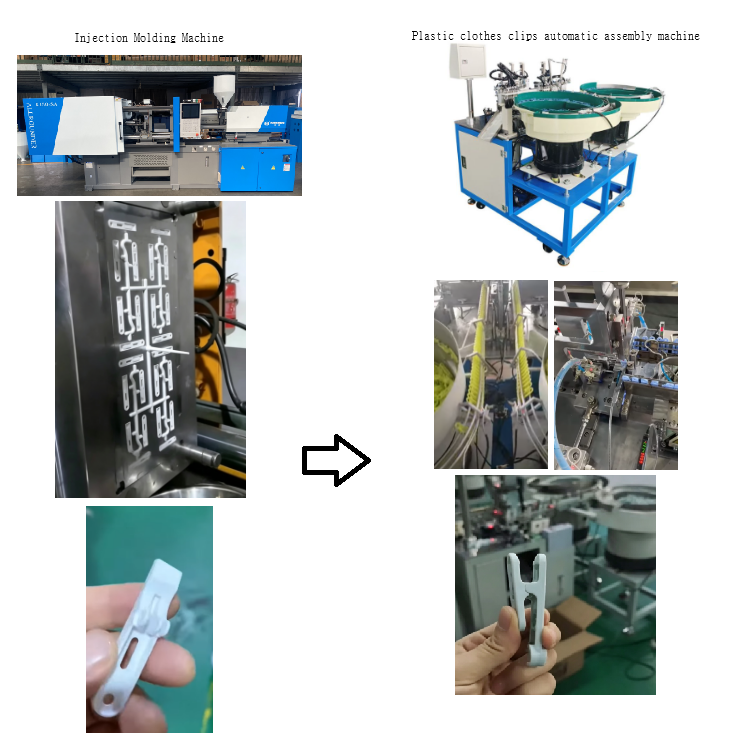
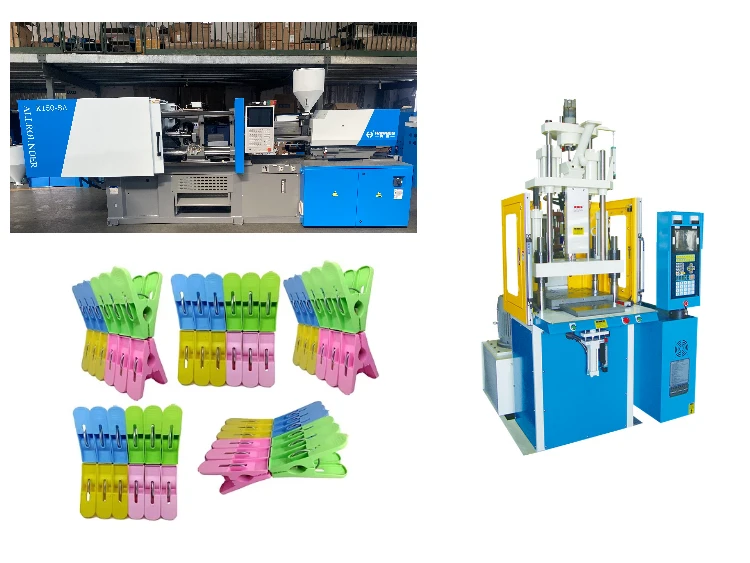
The plastic clothespin injection molding machine you choose directly affects your defect rate. A machine with insufficient clamping force, inconsistent injection pressure, or poor temperature control will produce more defective parts. In plastic clothes clip injection molding, the right machine features make the difference between 5% scrap and 1% scrap.
Choose the Right Tonnage for Your Cavity Count
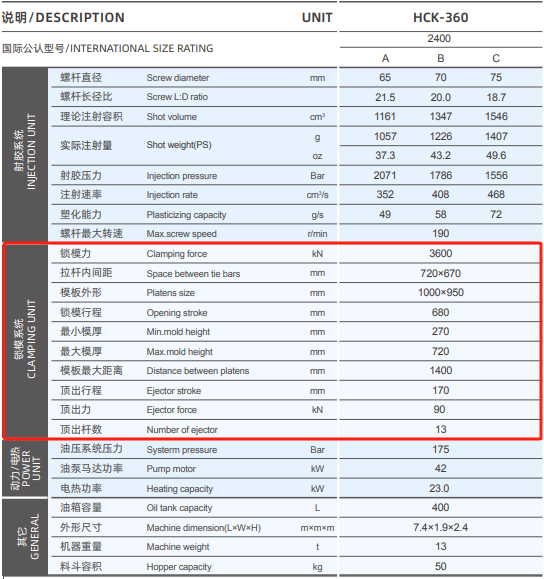
Insufficient clamping force causes flash. The basic formula for clamping force is:
Clamping Force (tons) = Projected Area (cm²) × Cavity Pressure (kg/cm²) ÷ 1000
For PP material, cavity pressure typically ranges from 300–500 kg/cm². Add a 10–20% safety margin.
Example for a 32-cavity plastic clothes clip mold:
- Each clip projected area: ~14 cm²
- Total projected area: 448 cm²
- Cavity pressure: 400 kg/cm²
- Theoretical force: 448 × 400 ÷ 1000 = 179 tons
- With 15% safety margin: 179 × 1.15 = 206 tons
This is why clip production typically uses machines in the 110–310 ton range. Undersizing the machine by 20 tons can increase flash defects by 30–50%. Oversizing by 50 tons increases energy costs and machine investment without quality benefit. A machine that works for 16 cavities may be insufficient for 32 cavities, and the resulting flash defects will reduce yield and increase manual trimming costs.
Check Tie‑Bar Spacing and Mold Dimensions
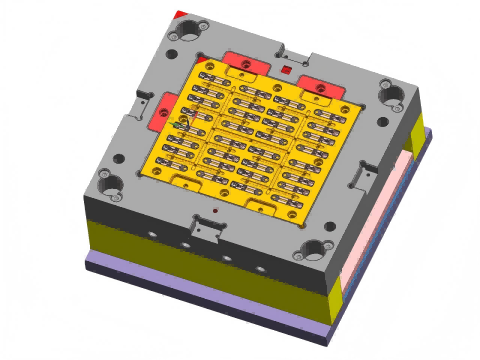
Tonnage is not the only consideration. The mold must physically fit between the machine’s tie‑bars. A 32-cavity mold is roughly 550×450mm. Verify that your plastic clothespin injection molding machine has tie‑bar spacing of at least 560×460mm to accommodate the mold. Always check mold dimensions against the machine’s tie‑bar spacing before purchasing. Even a 10mm mismatch will make the mold impossible to install, resulting in costly modifications or a new machine purchase.
Look for Multi‑Cavity Compatibility and Precision Control
A good plastic clothespin injection molding machine should support:
- Balanced runner systems to ensure each cavity fills at the same rate
- Sufficient shot size to fill all cavities plus runners in one cycle
- Precise switchover control from injection to holding pressure
- Multi-stage injection speed control to optimize fill patterns
- High-precision shot monitoring for consistent part weight (±0.5%)
Haichen HCK series machines are built for high-precision, multi-cavity production. Our machines feature servo energy saving as standard (reducing electricity costs by 30–50%), high-precision electronic rulers for consistent shot weight, and multi-zone PID temperature control for stable melt quality. All HCK series machines come with CE12 robot interfaces for automation integration.
| HCK Model | Clamping Force | Tie‑Bar Spacing | Recommended Cavities | Best For |
|---|---|---|---|---|
| HCK 110 | 110 tons | 460×410 mm | 16–24 | Small clip production |
| HCK 150 | 150 tons | 520×470 mm | 24–32 | Standard clip production |
| HCK 180 | 180 tons | 570×520 mm | 32 | High-volume clip production |
| HCK 230 | 230 tons | 620×570 mm | 32–48 | Large clips and bedding clips |
How Auxiliary Equipment Supports Defect-Free Production
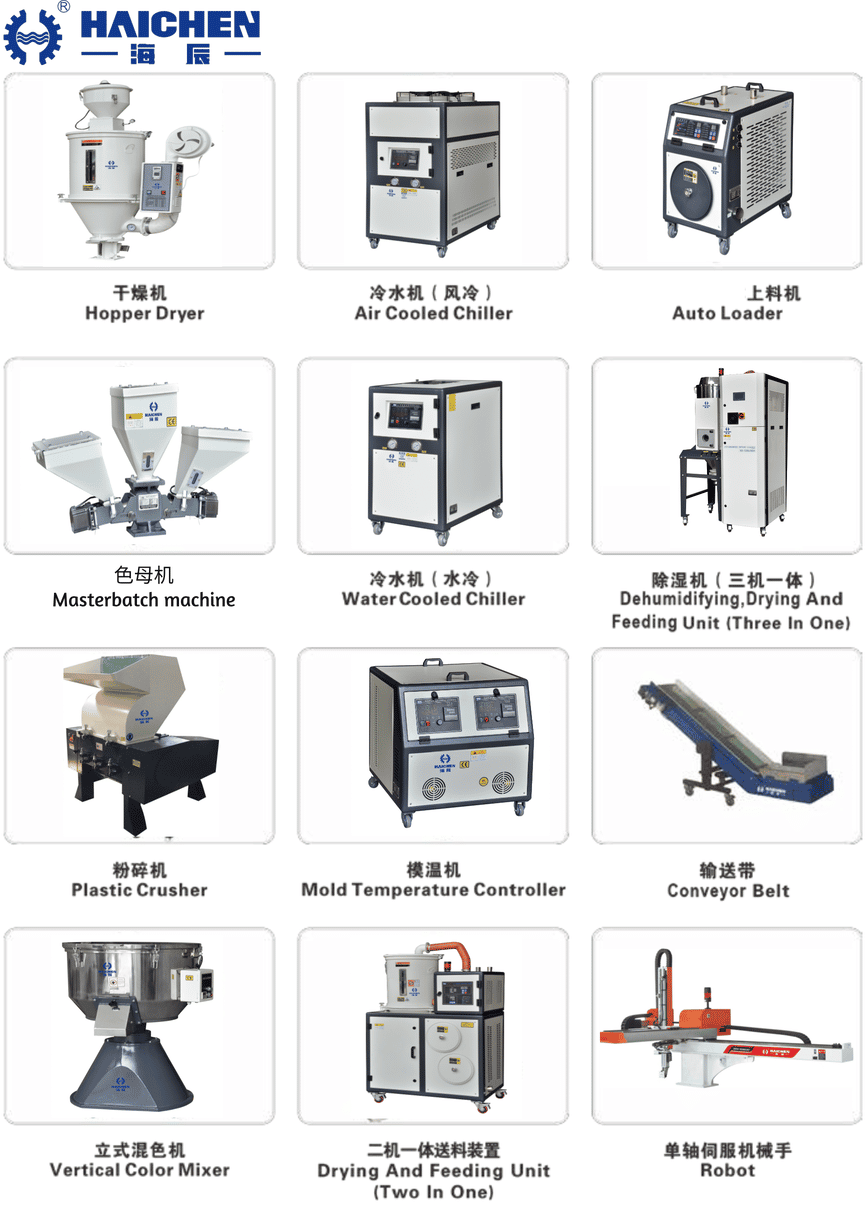
Auxiliary equipment is just as important as the main plastic clothespin injection molding machine for defect-free production. Proper drying, cooling, and material handling prevent many common defects.
Dehumidifying Dryer – Prevent Moisture‑Related Defects
Materials like PP and ABS absorb moisture from the air. Inadequate drying leads to bubbles, clouding, brittleness, or molecular degradation. The problem appears on the finished part, not on the dryer. Use a dehumidifying dryer with dew point monitoring to keep material dry before it enters the barrel. The dew point should be maintained below -40°C for PP and below -30°C for ABS to ensure proper drying. Drying time should be 2–4 hours for PP and 3–4 hours for ABS at temperatures of 80–100°C and 70–80°C respectively. If the dried material sits in the hopper for more than 30 minutes without being used, it can reabsorb moisture from the air and require re-drying.
Water Chiller – Control Mold Temperature for Consistent Quality
Uneven mold temperature causes warpage, sink marks, and longer cycle times. A water chiller maintains consistent mold temperature across all cavities. For molds with 16–32 cavities, a chiller ensures each cavity cools at the same rate. Inconsistent mold temperatures cause some clips to warp while others remain too hot to eject, leading to a mix of warped and deformed parts in the same production run. Temperature variations of just 5°C across the mold surface can cause significant dimensional variations in the finished clips. Undersized chillers will struggle to maintain temperature during continuous operation, causing cycle time variations and inconsistent part quality.
Take‑Out Robot – Reduce Ejection Damage and Speed Up Cycles
Manual part removal can damage thin plastic clothes clips, especially when they stick in the mold. A servo take‑out robot removes parts consistently and gently, reducing ejection‑related defects. In automated lines, robots also shorten cycle time by eliminating human waiting. With full automation, one operator can monitor multiple machines, reducing labor costs and improving consistency. Robots equipped with vision systems can also perform basic quality inspections as they remove parts, detecting flash or short shots immediately.
Material Loader – Ensure Consistent Feed
A material loader with automatic feeding ensures consistent material supply to the plastic clothespin injection molding machine. Inconsistent feeding causes shot weight variations and short shots. Where clips are small and cavity counts are high, even a 1% variation in shot weight can cause defects. Vacuum loaders with filter monitoring prevent contamination from entering the barrel, which can cause black spots and other surface defects. Loader capacity should be sized to provide at least 2–3 hours of continuous operation, reducing the frequency of material refills and the risk of hopper running empty during production.
Haichen’s integrated solutions: Haichen provides complete auxiliary equipment recommendations for clip production lines. We can help you select the right dryer, chiller, robot, and loader configuration based on your production volume and facility conditions. Our HCK series machines come with standard interfaces for all major auxiliary equipment brands.
How to Optimize Process Parameters for Plastic Clip Molding
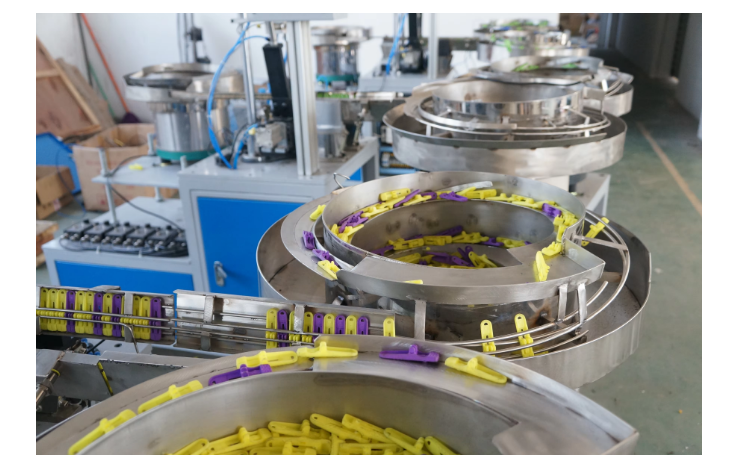
Even with the right mold and machine, you need optimized process parameters for defect-free plastic clothes clip injection molding. Adjusting injection speed, holding pressure, and temperature profiles can significantly reduce scrap rates.
Adjust Injection Speed and Pressure for Short Shots
Short shots typically occur when injection speed is too slow or pressure is too low. To fix:
- Increase injection speed to fill the cavity before the melt cools
- Increase injection pressure to push melt into thin sections
- Raise melt temperature to improve flow
- Add more vents if air is trapped
For clips with thin sections (under 1mm), higher injection speeds (80–120 mm/s) are essential for complete filling. Higher speeds may cause flash at the parting line if clamping force is insufficient. Multi-stage injection speed control allows you to set different speeds for different sections of the flow path, optimizing fill without causing defects.
Optimize Holding Pressure and Time for Warpage
Warpage occurs when holding pressure is too low or cooling is uneven. To fix:
- Increase holding pressure to pack more material into the cavity
- Extend holding time to allow proper packing before the gate freezes
- Ensure even cooling across all cavities — check chiller temperature and cooling channel layout
- Reduce melt temperature to minimize shrinkage and residual stress
Holding pressure should typically be 50–80% of injection pressure. Holding time should continue until the gate freezes — typically 3–5 seconds for thin-walled clips. While holding pressure applied too long can cause over-packing and increased part weight, while insufficient holding pressure causes sink marks and warpage.
Adjust Clamping Force for Flash
Flash occurs when clamping force is insufficient or mold damage exists. To fix:
- Increase clamping force if the machine has capacity
- Check mold condition — worn or damaged molds cause flash even with correct force
- Reduce injection pressure if clamping force is already at maximum
- Check for foreign material between mold halves
If you find yourself constantly adjusting between flash and short shots, start with an optimized process and seek the root cause. This is a common struggle in plastic clothes clip injection molding. The root cause is often inconsistent material viscosity or worn check rings in the screw. The maximum clamping force on your plastic clothespin injection molding machine should be sufficient to hold the mold closed without flash at your normal operating pressure.
Use Process Monitoring to Find the Optimal Settings
The 4M approach (Molding process, Mold, Machine, and Material) helps identify defect sources. In automated production:
- Monitor cycle time consistency — variations indicate process instability
- Check switchover response — poor switchover causes flash and shorts
- Use simulation tools during mold qualification to predict fill patterns and weld lines
- Record and analyze process parameters to identify trends and prevent defects before they occur
For plastic clothes clip injection molding, we recommend storing optimized process recipes for each mold. When switching molds, operators can recall the recipe and start with proven settings, reducing trial time and scrap. Digital process monitoring systems can alert operators when parameters drift outside acceptable ranges, preventing defect production.
Material Drying and Handling for Consistent Quality
Proper material preparation is essential for consistent plastic clothes peg injection molding. Even minor variations in material moisture can cause significant defects.
- Dry PP at 80–100°C for 2–4 hours before molding
- Dry ABS at 70–80°C for 3–4 hours
- Use a dehumidifying dryer with dew point monitoring
- Keep dried material in a sealed hopper to prevent reabsorption
Frequently Asked Questions
What is plastic clothes clip injection molding?
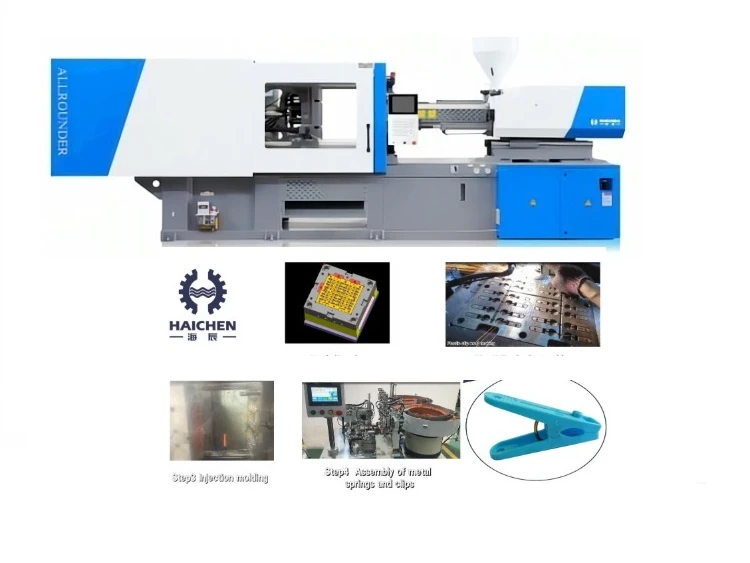
Plastic clothes clip injection molding is the process of melting plastic pellets and injecting them into a mold to form clothes clips and clothespins. The process involves heating the plastic, injecting it under high pressure, cooling it, and ejecting the finished clips. This process is used to produce billions of clips annually for household and commercial use.
What are the most common defects in plastic clothes clip injection molding?
The four most common defects are short shots (incomplete filling), flash (excess material along the parting line), warpage (bent or twisted parts), and ejection problems (parts sticking in the mold). Each defect has different causes and requires specific solutions. Short shots typically require higher injection speed or better venting, flash requires more clamping force, warpage requires better cooling or higher holding pressure, and ejection problems require better mold design.
How can I reduce scrap rate in plastic clothes clip injection molding?
Reduce scrap rate by focusing on four areas: mold design (balanced runners, proper venting, optimized cooling), machine selection (correct tonnage, precision control, automation interfaces), auxiliary equipment (dehumidifying dryer, water chiller, take-out robot), and process parameters (optimized injection speed, holding pressure, temperature profiles). A systematic approach to all four areas can reduce scrap from 5% to under 2%.
What tonnage do I need for a 32-cavity plastic clothes clip mold?
A 32-cavity plastic clothes clip mold typically requires 180–230 tons of clamping force. The exact requirement depends on the clip size, material, and runner design. Use the formula: Clamping Force = Projected Area × Cavity Pressure ÷ 1000 × Safety Factor. For most PP clips, this calculation yields 206–230 tons.
How does mold design affect defect rates in plastic clothes clip injection molding?
Mold design directly affects all four common defects. Poor gate location causes short shots and weld lines. Inadequate venting causes short shots and burns. Uneven cooling causes warpage. Improper draft angles or ejector placement causes ejection problems. A well-designed mold with balanced runners, proper venting, and optimized cooling channels is the foundation of defect-free production.
Can I fix defects by adjusting the injection molding machine parameters?
Yes, many defects can be reduced or eliminated by adjusting machine parameters. Short shots respond to increased injection speed or pressure. Flash responds to increased clamping force or reduced injection pressure. Warpage responds to increased holding pressure or optimized cooling. However, significant defects often indicate mold design or machine selection issues that require more than parameter adjustments.
Haichen Machinery – your plastic clothespin injection molding machine partner. From defect analysis to mold design and process optimization, we help you achieve defect-free production.
Author: Yang, Senior Engineer, Haichen Machinery